Announcement
Collapse
No announcement yet.
[vb_side_1]
Latest Forum Posts
Collapse
-
by gjordanI’m trying to learn how to load photos. ...
-
Channel: BOM 2021 - Color My World
03-25-2021, 09:17 PM -
-
I am late to the party so I have only completed the 8 Small House 1 units so far. I realize this post is too late for everyone...
-
Channel: BOM 2021 - Color My World
03-24-2021, 11:30 AM -
-
by HelenWMost Color My World quilters probably think of you as the trouble shooter for all thing Color My World.
They may not...-
Channel: BOM 2021 - Color My World
03-23-2021, 06:47 AM -
-
I moved the first of the year but I had ordered the fabric kit. Now when I opened it i didnt find any directions or the...
-
Channel: BOM 2021 - Color My World
03-22-2021, 12:38 PM -
-
by midnight33I’m jumping ahead a bit....made brown fusible bias for tree trunks & now experimenting with dif shapes & fabrics...1 Photo
-
Channel: BOM 2021 - Color My World
03-21-2021, 05:37 PM -
-
by nhbasketsThought I’d start a thread where those of us using wool can post on progress when using this alternative medium for this...2 Photos
-
Channel: BOM 2021 - Color My World
03-19-2021, 04:31 PM -
-
Because I am using a dark background I plan to make lighter coloured trees. I know that the 14 yards of bias tape required...
-
Channel: BOM 2021 - Color My World
03-17-2021, 07:39 PM -
-
I can't find anything that mentions about what kind/size needle that is recommended if sewing with 60 wt thread on top and...
-
Channel: BOM 2021 - Color My World
03-14-2021, 08:04 PM -
Trending Forum Posts
Collapse
-
by gjordanI’m trying to learn how to load photos. ...
-
Channel: BOM 2021 - Color My World
03-25-2021, 09:17 PM -
-
I am late to the party so I have only completed the 8 Small House 1 units so far. I realize this post is too late for everyone...
-
Channel: BOM 2021 - Color My World
03-24-2021, 11:30 AM -
-
by HelenWMost Color My World quilters probably think of you as the trouble shooter for all thing Color My World.
They may not...-
Channel: BOM 2021 - Color My World
03-23-2021, 06:47 AM -
-
I moved the first of the year but I had ordered the fabric kit. Now when I opened it i didnt find any directions or the...
-
Channel: BOM 2021 - Color My World
03-22-2021, 12:38 PM -
-
by midnight33I’m jumping ahead a bit....made brown fusible bias for tree trunks & now experimenting with dif shapes & fabrics...1 Photo
-
Channel: BOM 2021 - Color My World
03-21-2021, 05:37 PM -
-
by nhbasketsThought I’d start a thread where those of us using wool can post on progress when using this alternative medium for this...2 Photos
-
Channel: BOM 2021 - Color My World
03-19-2021, 04:31 PM -
-
Because I am using a dark background I plan to make lighter coloured trees. I know that the 14 yards of bias tape required...
-
Channel: BOM 2021 - Color My World
03-17-2021, 07:39 PM -
-
I can't find anything that mentions about what kind/size needle that is recommended if sewing with 60 wt thread on top and...
-
Channel: BOM 2021 - Color My World
03-14-2021, 08:04 PM -
[vb_side_2]
[vb_main_1]
Auditioning Colors and Fabrics for Sedona Star 2012
Collapse
X
-
-
-
-
Filter
-
Administrative
new posts
-
Yippee!!! My Kit has arrived, now I have some questions before I start, I am doing a dummy run before I start on the kit, I thought it wise for two reasons one being I am new to all of this and secondly after reading the posts I wanted to make sure that I was going to get it right, with the quilts I have made in the past I haven't pre washed and have loved the effect for this one with all the stars I was wondering if I should? In the past I have run it past a few people I know and they said no for the stars, but thought it wise to check it out with you guys. I have printed out paper templates so that I can check it all. In my dummy run I am using Ricky Tim's stabiliser as I thought I should keep it the same as the kit, when I lay out the rings on the template against the star on the stitching lines my ring comes to 16 1/2" I will go on with the dummy and finish that before I use the kit but wanted to make sure of the centre measurement first, can anyone please let me know as I don't want to get it wrong, I would like it all to fit nicely at the end, I would love to hear form Sarah on the measurements as I know others on the forum would too, I would appreciate any advice in this, thanks.

 Lyndhurst, Ohio USA - East Side Suburb of Cleveland, Ohio

- IP
Comment
-
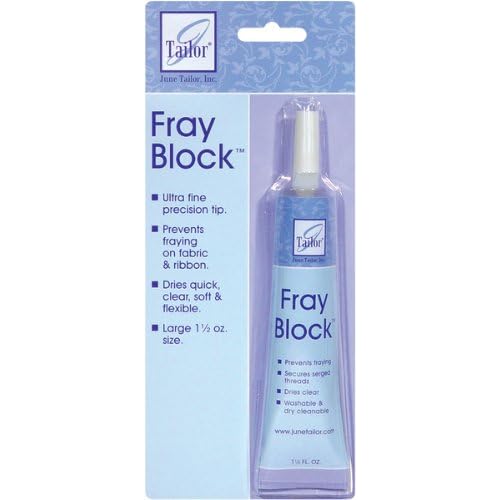
Carol, I'm not sure if you have already tested the "Fray Check" yet or not, but I use a product called "Fray Block" by June Tailor. I use it on my hand appliqué when I need to clip curves. It works the same as "Fray Check" but does not yellow with age and it leaves the fabric soft whereas "Fray Check" leaves the fabric somewhat hard or stiff. You can purchase "Fray Block" at Joann Fabrics and I have seen it also at some of my local quilt shops. I have not ever had any problems with it discoloring my fabrics, but if I were you, I would test it on some silk scraps first just to be sure.Originally posted by CMOELLERSIt will be interesting to see how the silk handles with all the paper piecing in the triangles. Going to really have to be careful since the centers are fairly small and the points on the outside are narrow. I may experiment with a product called "Fray Check" by Dritz to help cut down on the fraying, expecially at the triangle points. My only fear is that it might discolor the silk. Does anyone have any experience with this product?
 Lyndhurst, Ohio USA - East Side Suburb of Cleveland, Ohio

- IP
Comment
-
I too, am wishing that Sarah had listed the finished (or unfinished) measurements for us! I know we have templates, and are sewing right to the foundations, but since everyone's printers are different and everyones seams vary, we really don't know if the unfinished size of all the circles sewn together should be 16 1/2" or 16 3/4" (as a couple of people have said theirs are) or when I measure my very narrow outer ring's template, I get 17" unfinished. (Yes, I have 3" squares and a perfect 18" across the page from outer grid line to outer grid line.) This not knowing whose measurement is correct is worrysome, because it will effect whether or not the next month will fit to it! We really need some measurements right here with month one, just for peace of mind! Please, Sarah?
Dawn
In beautiful Northwest Montana
- IP
Comment
-
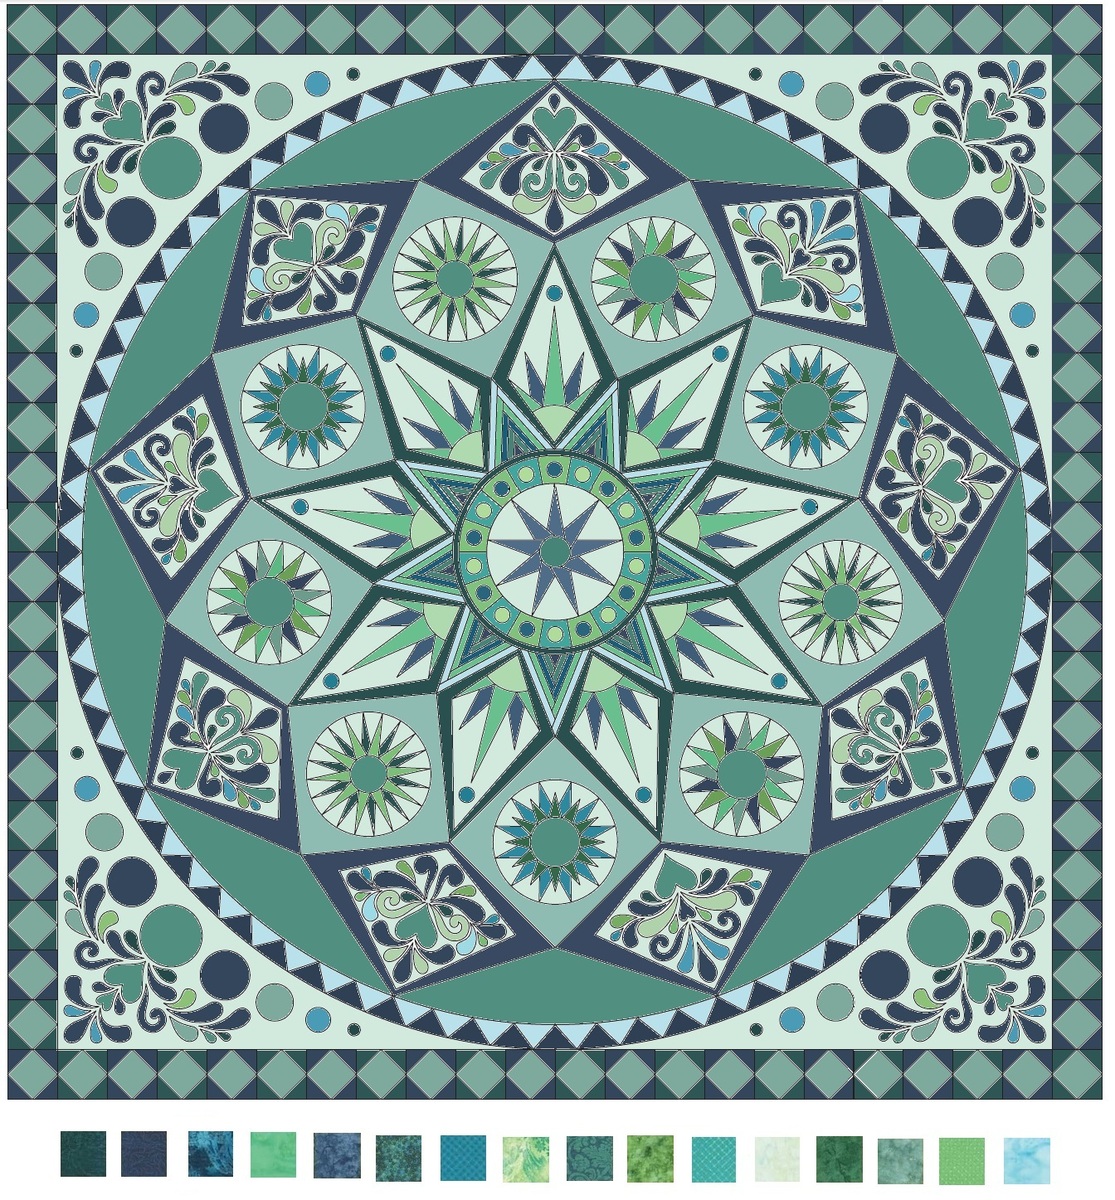
[quote="Scoopie"]I just had to share what I've decided to do with my Sedona Star. I am still playing with it, and have gone as far as I can until I buy 8 yards (I think) of black for all of my background. So far, this is all from my stash, and all hand dyes that I have purchased over the years. I do not have the yellows that I need, so the yellow star point is a stand-in, and my ring is not sewn closed, because that may not be the right yellow. Also, the last border of each star point will be black, and therefore the star points are incomplete, too. Lots of fun, so far!
Dawn
Dawn, Your colors are beautiful
Lorna
- IP
Comment
-
Hi Dawn, yes my templates measure the same, so I must be on the right track, now I will go ahead and stitch up my dummy run and then on to the kit, this is fun can't wait to do it all, they all look so amazing, thanks so muchOriginally posted by ScoopieI too, am wishing that Sarah had listed the finished (or unfinished) measurements for us! I know we have templates, and are sewing right to the foundations, but since everyone's printers are different and everyones seams vary, we really don't know if the unfinished size of all the circles sewn together should be 16 1/2" or 16 3/4" (as a couple of people have said theirs are) or when I measure my very narrow outer ring's template, I get 17" unfinished. (Yes, I have 3" squares and a perfect 18" across the page from outer grid line to outer grid line.) This not knowing whose measurement is correct is worrysome, because it will effect whether or not the next month will fit to it! We really need some measurements right here with month one, just for peace of mind! Please, Sarah?
Dawn
In beautiful Northwest Montana
- IP
Comment
-
I didn't see that there was a JPEG of the file so what I did was open the PDF and made it very large on my screen, only showing about 1/2 of it. I did a Screen Print and pasted it into MS Paint. I then scrolled down in the PDF to get the bottom of it, Screen Print, and paste into MS Paint. Set the Select tool to Transparent, crop off the top screen stuff, and paste the bottom of the PDF onto the top.
I then copied in the fabrics I was using and with the Eyedropper tool I picked up the color and filled in the pieces.

- IP
Comment
What's Going On
Collapse
There are currently 199 users online. 0 members and 199 guests.
Most users ever online was 4,446 at 07:08 AM on 07-28-2025.
Forum Stats
Collapse
Topics: 7,646
Posts: 144,737
Members: 16,641
Active Members: 5
Welcome to our newest member, Lev Anderson-LevTest1.
Latest Topics
Collapse
There are no results that meet this criteria.
Trending
Collapse
There are no results that meet this criteria.


Comment